Cottage Cheese Pastries with Cherries
Is it breakfast? Is it dessert? With a flaky crust, creamy filling, and cherry on top, these cottage cheese pastries are perfect for any time of day!
Recipe and image compliments of Brit from Whisked Away Kitchen
Cottage Cheese Pastries with Cherries
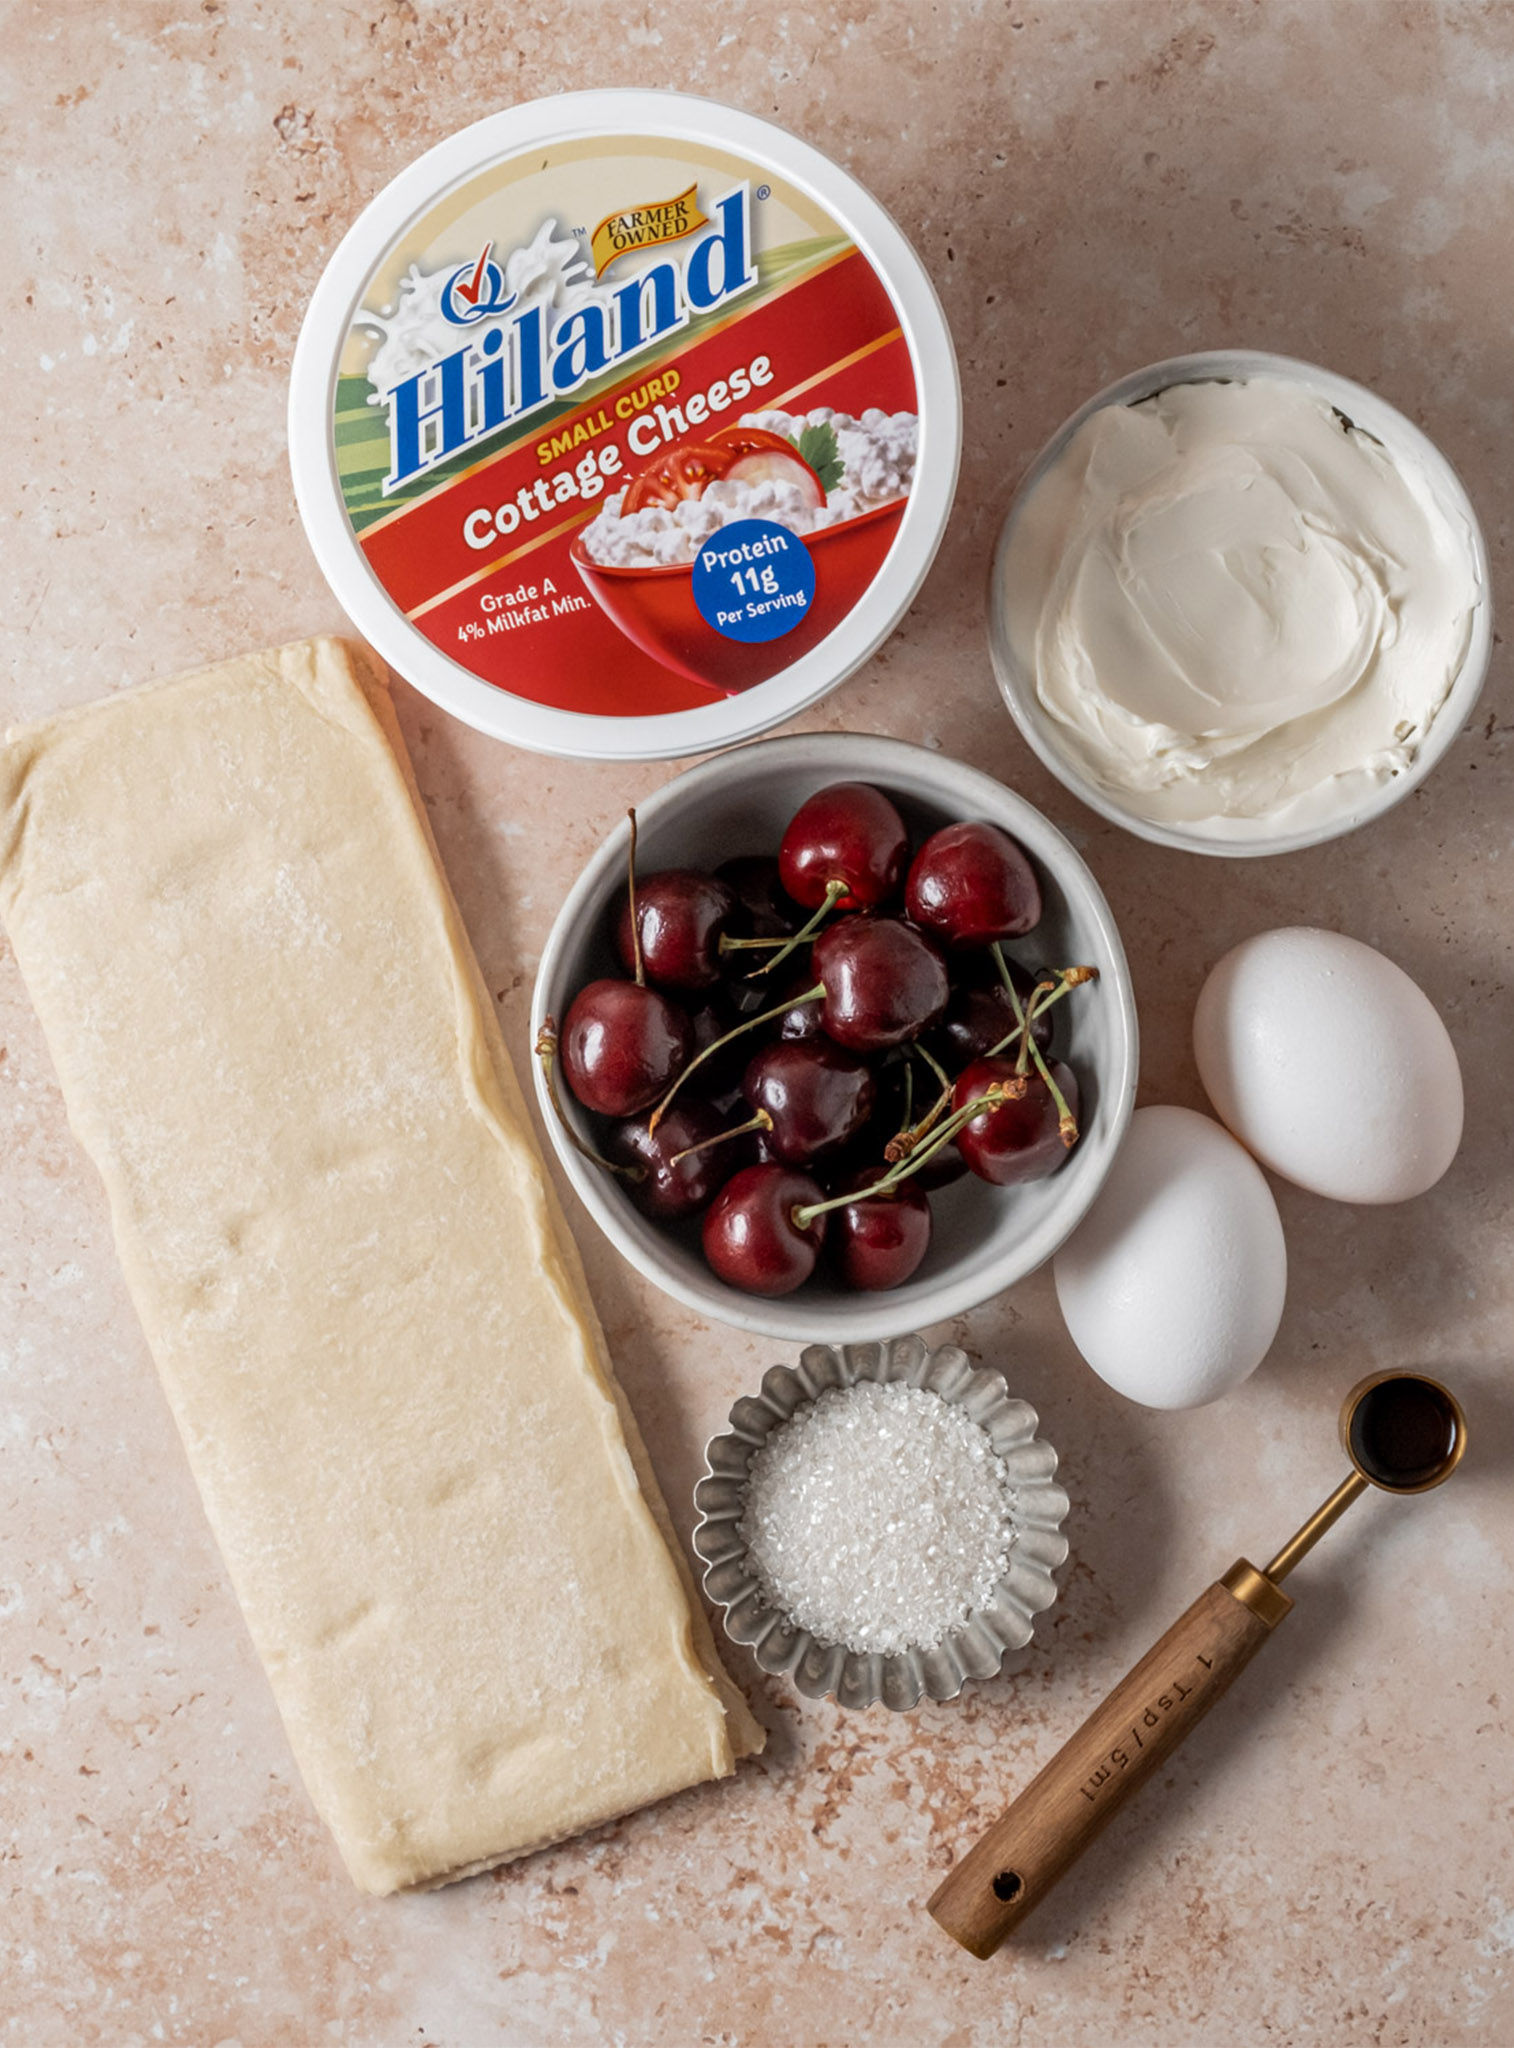
Ingredients
Cottage Cheese Filling
- 1 cup Hiland Small Curd Cottage Cheese
- 4 oz Hiland Cream Cheese softened
- 1/4 cup granulated sugar
- 1 teaspoon vanilla extract
- 1 egg yolk
Pastries And Assembly
- 1 package about 1 lb puff pastry, thawed
- 1 egg
- 1 tablespoon water
- 9 cherries pitted and halved
- Coarse sugar for sprinkling
Instructions
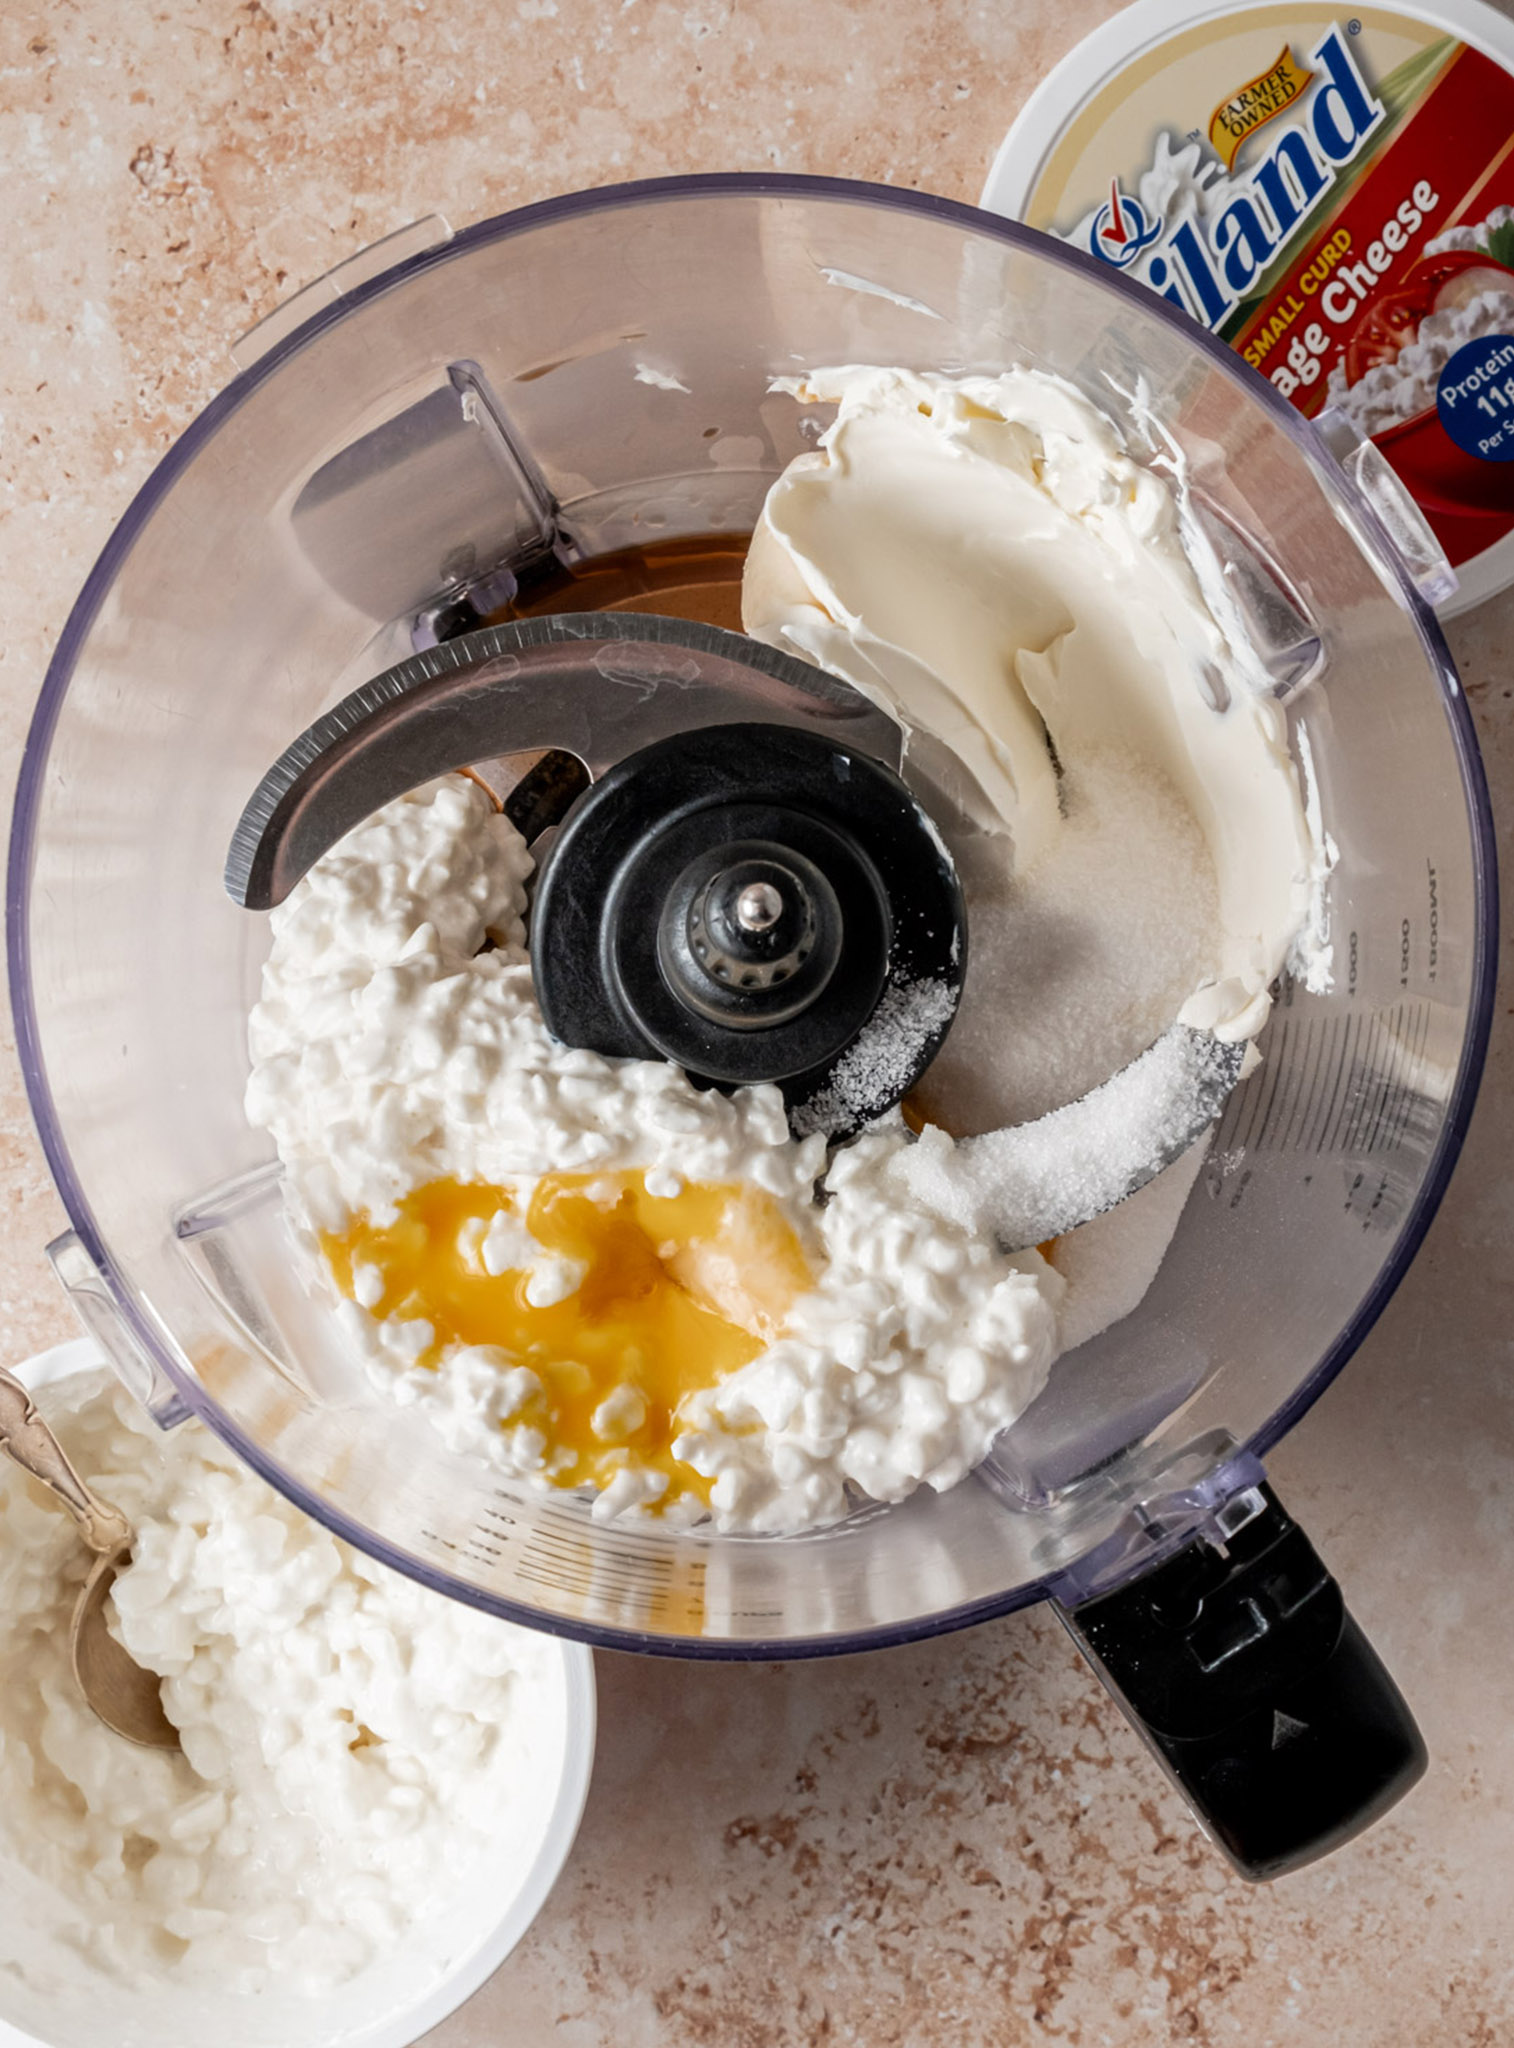
- In the bowl of a food processor, combine the cottage cheese, cream cheese, granulated sugar, vanilla extract and egg yolk. Pulse until smooth and transfer to the refrigerator until ready to use.
- Unroll the puff pastry sheets and cut into squares (about 3 x 3 inches).
- Use a fork to prick holes in the center of each square.
- In a small bowl, beat the egg with 1 tablespoon of water to make an egg wash. Brush the top of each pastry with the egg wash.
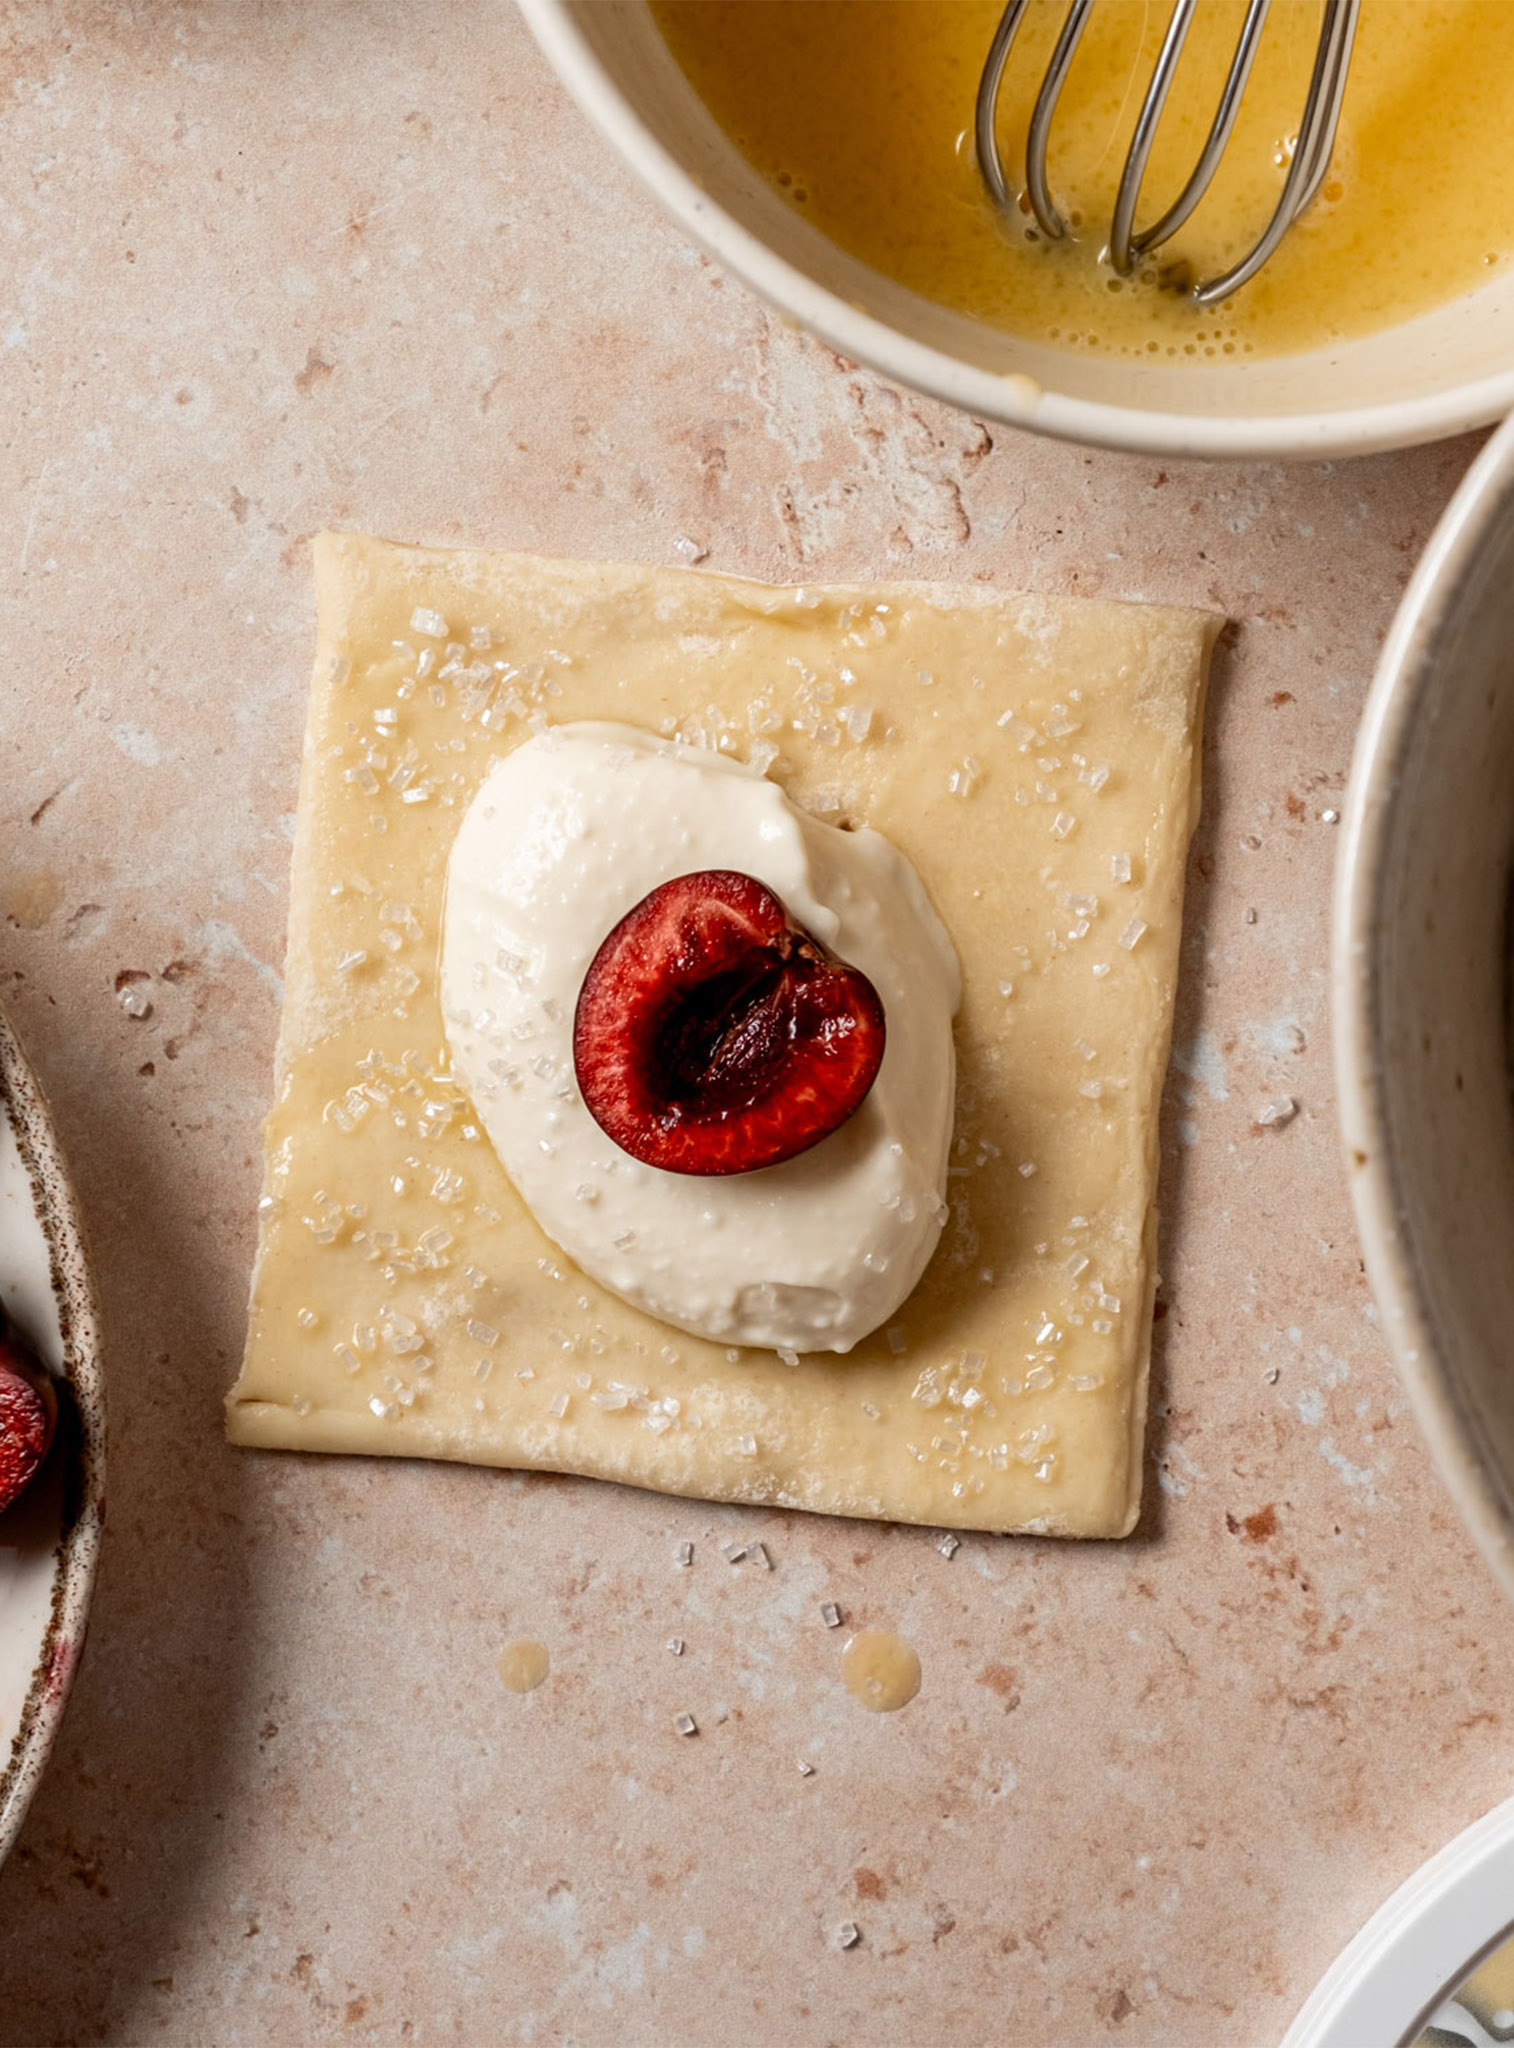
- Place a heaping tablespoon of the cottage cheese filling in the center of each pastry square. Place a cherry half in the center of the filling. Sprinkle the edges of the pastry with coarse sugar if desired.
- Place the pastries on a baking sheet lined with parchment paper. Transfer to the refrigerator for 20 minutes.
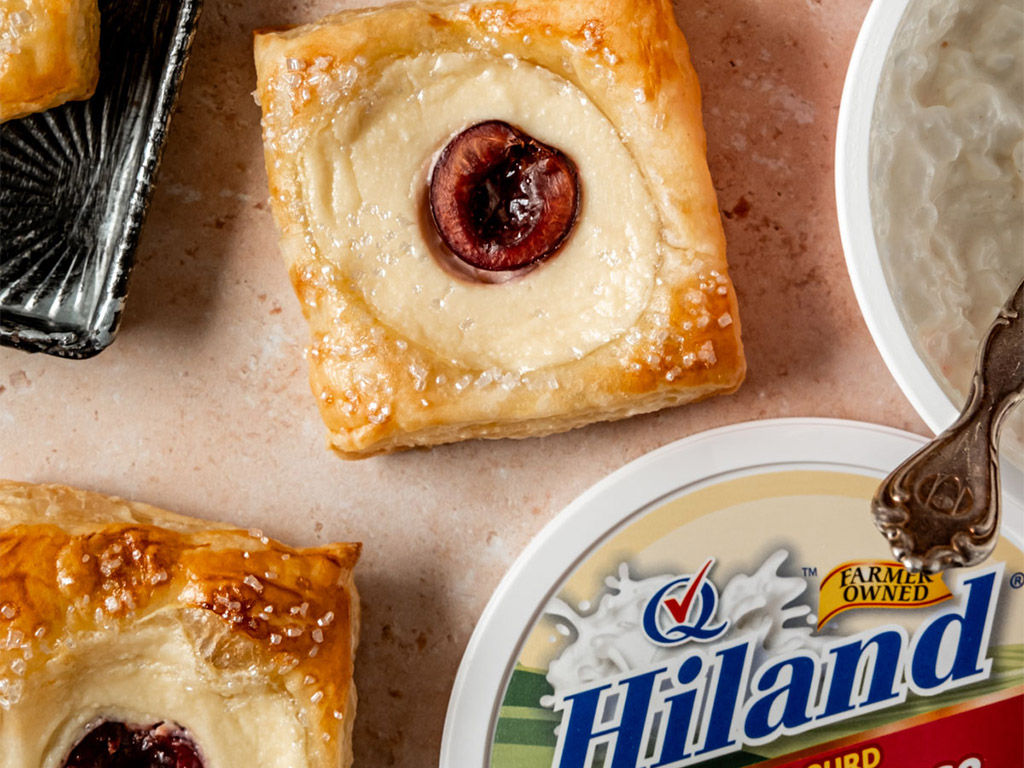
- Preheat oven to 400°F. Bake the pastries in the preheated oven for 15-18 minutes, or until the pastries are puffed and golden brown.


We love this easy recipe that makes creating bakery-style pastries effortless.
The cottage cheese creates a creamy, slightly tangy filling with a good amount of protein, making for a satisfying breakfast, snack or dessert.
Ingredient Notes
Cottage cheese: Hiland Small Curd Cottage cheese provides the perfect texture for our filling. Its fresh, subtle flavor allows other ingredients to shine while adding a delightful creaminess.
Cream cheese: Softened cream cheese helps bind the filling and adds richness. Make sure the cream cheese is at room temperature for easy blending.
Puff pastry: Store-bought puff pastry saves time without sacrificing quality. Ensure that the pastry is properly thawed before use for best results.
Cherries: Fresh, pitted cherries add a burst of flavor and color. You can substitute with other fruits like blueberries or raspberries if desired.
Coarse sugar: This optional ingredient adds a nice crunch and sparkle to the pastry edges.
Step by Step Instructions
Making these pastries couldn’t be easier! Here’s how to do it:
Step 1: Prepare the filling by combining cottage cheese, cream cheese, sugar, vanilla, and egg yolk in a food processor. Pulse until smooth and refrigerate.
Step 2: Cut the thawed puff pastry into squares and prick the centers with a fork.
Step 3: Brush the pastry squares with egg wash for a golden finish.
Step 4: Add a spoonful of filling to each square and top with a cherry half. Sprinkle edges with coarse sugar if desired.
Step 5: Chill the assembled pastries for 20 minutes before baking at 400°F until golden brown.
Expert Tips and Tricks
- Ensure all dairy ingredients are at room temperature for smoother blending.
- Don’t overfill the pastries to prevent spillage during baking.
- If the cottage cheese filling doesn’t hold its shape well, try adding a bit more cream cheese or place in the refrigerator for 30 minutes.
- Don’t skip the chilling period. You want the pastries to be quite firm when they go into the oven. This will prevent the filling from leaking out.


These pastries are perfect for brunch, afternoon tea, or as an easy dessert.
Serving Ideas
Serve them warm with a dusting of powdered sugar or alongside a scoop of vanilla ice cream for an extra special treat!
Make Ahead and Storage Instructions
You can prepare the filling a day in advance and store it in the refrigerator. Assemble the pastries just before baking for best results.
Leftover pastries can be stored in an airtight container in the refrigerator for up to three days.
For more delicious recipes, visit Hiland Dairy’s recipe page.
Thank you for signing up!

